
Image: Shutterstock
As a parent, you know that cleanliness and hygiene are paramount when it comes to taking care of your little one. Pacifiers and bottles are two essential items in your parenting arsenal, and keeping them clean is not just about maintaining good hygiene but also ensuring your child’s health and well-being. In this article, we will walk you through various methods on how to properly clean pacifiers and bottles, ensuring your baby stays healthy and happy. Read on!
Wash With Detergent
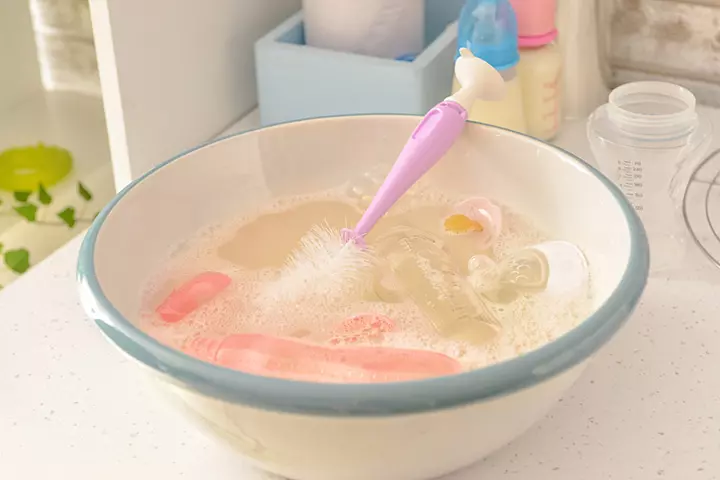
Image: Shutterstock
The first and most common method for cleaning pacifiers and bottles is using mild dishwashing detergent and warm water. Follow these steps:
1. Preparation
Rinse off any remaining milk or food from the bottle and pacifier immediately after use. This prevents residue from drying and becoming more challenging to clean later.
2. Create A Soapy Solution
Fill your sink or a basin with warm water and add a small amount of baby-safe, fragrance-free dishwashing detergent. Swirl the water to create a soapy solution.
3. Scrub Gently
Use a bottle brush designed for baby bottles to clean the inside of the bottle thoroughly. For pacifiers, use a soft-bristle brush or your fingers to scrub the surfaces.
4. Rinse
Rinse the bottle and pacifier with hot, clean water to remove all soap residue.
5. Air Dry
Allow them to air dry on a clean, dry towel or bottle rack. Avoid using towels that might transfer lint or bacteria.
Dishwasher
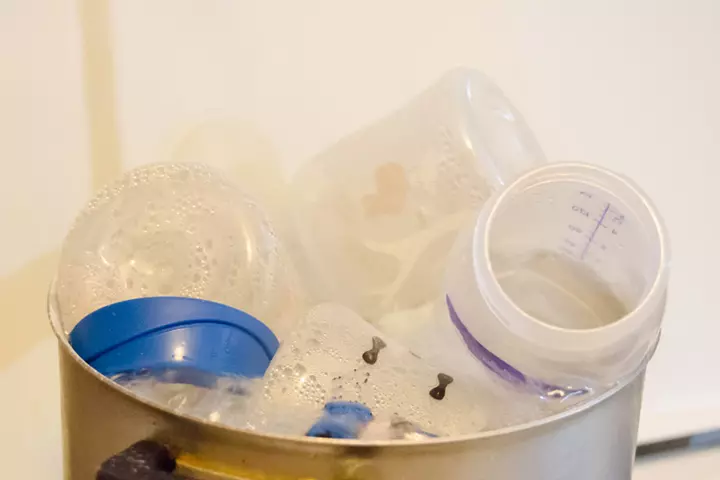
Image: Shutterstock
Many parents find using a dishwasher convenient for cleaning bottles and pacifiers. Here’s how to do it:
1. Disassemble
Take apart the bottles, removing the nipple and any other parts that can be detached, such as bottle rings.
2. Place In Dishwasher
Place all the pieces, including pacifiers, in the dishwasher’s top rack. Ensure they are securely placed to avoid moving around during the wash cycle.
3. Use A Baby-Safe Detergent
Use a baby-safe dishwasher detergent to prevent any harmful residues on the items.
4. Run A Sanitizing Cycle
Some dishwashers have a sanitizing cycle that uses higher temperatures to kill bacteria. If your dishwasher has this feature, consider using it for pacifiers and bottles.
5. Air Dry
After the dishwasher cycle is complete, remove the items and allow them to air dry thoroughly before reassembling them.
Sterilization In Boiling Water
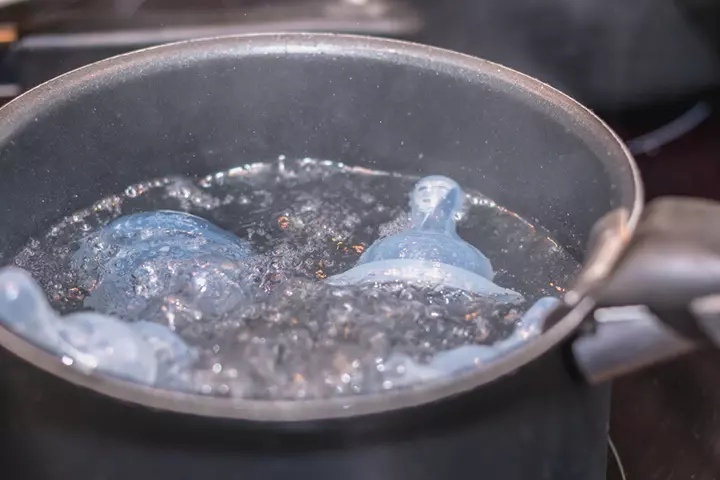
Image: Shutterstock
Sterilizing baby bottles and pacifiers through boiling water is a classic method:
1. Clean First
Clean the bottles and pacifiers using the method mentioned above to remove any visible dirt or milk residue.
2. Boil Water
Fill a large pot with water and bring it to a rolling boil. Make sure there is enough water to submerge all the items entirely.
3. Submerge Items
Carefully place the clean bottles and pacifiers into the boiling water. Use tongs to avoid burns.
4. Boil For 5 Minutes
Allow the items to boil for at least five minutes to ensure proper sterilization.
5. Cool And Air Dry
After boiling, remove the items and let them cool before air drying on a clean towel or rack.
Microwave Sterilization
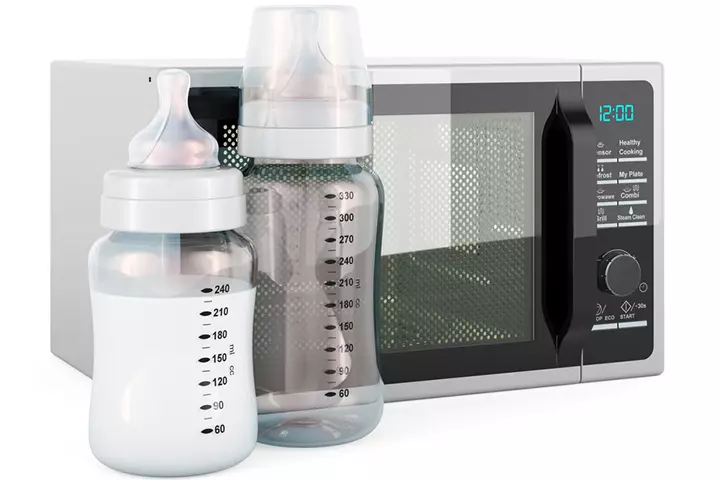
Image: Shutterstock
Microwave sterilization is a quick and effective method for busy parents:
1. Preparation
Clean the bottles and pacifiers as mentioned earlier.
2. Use A Microwave Sterilizer Bag
Purchase microwave sterilizer bags designed for baby bottles and pacifiers. Follow the instructions on the bag regarding water volume and microwave time.
3. Place Items In The Bag
Put the clean items into the sterilizer bag and add the recommended amount of water.
4. Seal And Microwave
Seal the bag tightly, leaving a small opening to release excess steam, and place it in the microwave. Microwave according to the instructions on the bag.
5. Cool And Air Dry
After microwaving, carefully open the bag (steam will be hot), and let the items cool before air drying them.
Sterilization With An Electric Sterilizer
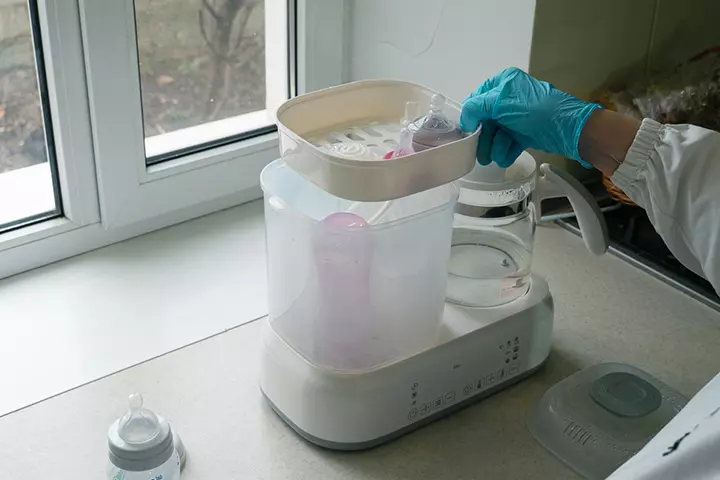
Image: Shutterstock
Electric bottle sterilizers are designed to make this process even more convenient:
1. Load The Sterilizer
Place your clean bottles and pacifiers in the sterilizer’s designated compartments.
2. Add Water
Pour the recommended amount of water into the sterilizer’s reservoir.
3. Follow Instructions
Most electric sterilizers have preset cycles. Select the appropriate cycle and start the sterilization process as per the manufacturer’s instructions.
4. Cool And Air Dry
Once the sterilization cycle is complete, remove the items and allow them to cool and air dry before using them.
Bonus Tips
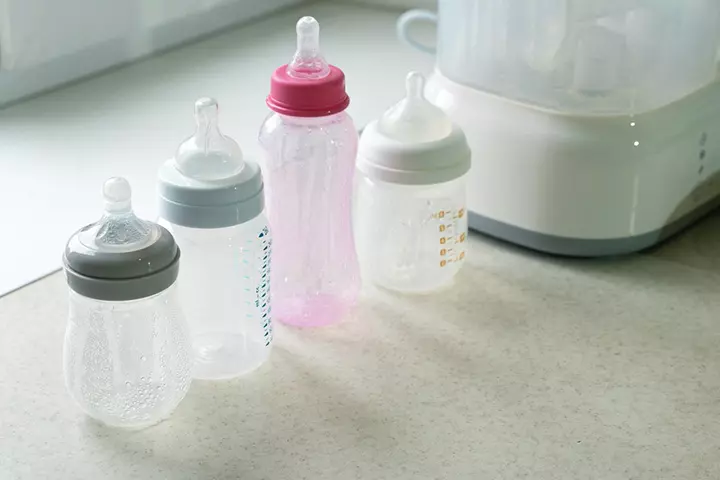
Image: Shutterstock
1. Inspect Regularly
Always inspect bottles, pacifiers, and their components for any signs of wear, cracks, or damage. Replace them immediately if you find any issues.
2. Replace Nipples
Nipples on bottles can deteriorate over time due to frequent sterilization. Replace them if they show signs of wear or tear.
3. Use Safe Storage
After cleaning and sterilizing, store bottles and pacifiers in a clean, covered container to prevent dust or contaminants from settling on them.
Maintaining the cleanliness and hygiene of your baby’s pacifiers and bottles is paramount for their well-being. Whether you opt for washing with detergent, utilizing a dishwasher, boiling in water, microwave sterilization, or an electric sterilizer, consistency and careful attention to detail are crucial. By adhering to these guidelines and incorporating the provided tips, you can guarantee that your baby’s feeding equipment remains in optimal condition, offering you peace of mind and ensuring a healthy beginning in life.


